How To: A 3D Camelia

This year I went to the London Perl Workshop with a pile of 3D printed "LPW 2014 tokens" (key rings? One thing I need to do is find a name for them!)
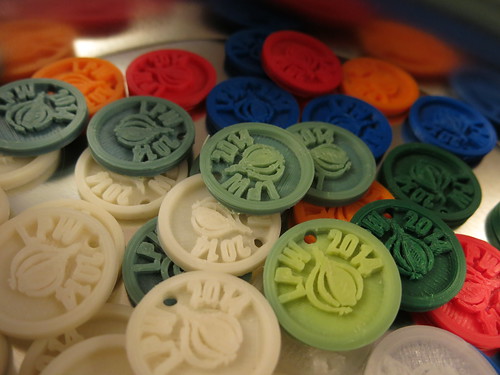
LPW 2014 key ring token thingies
This was an attempt to see if I could exchange plastic printed bits for money, and in general went ok, we came back with £30 more than we started! (And a fair number of the tokens, now useless). We also came back with a commission, Wendy (Wga) said she would buy a bunch of 3D printed Camelias.
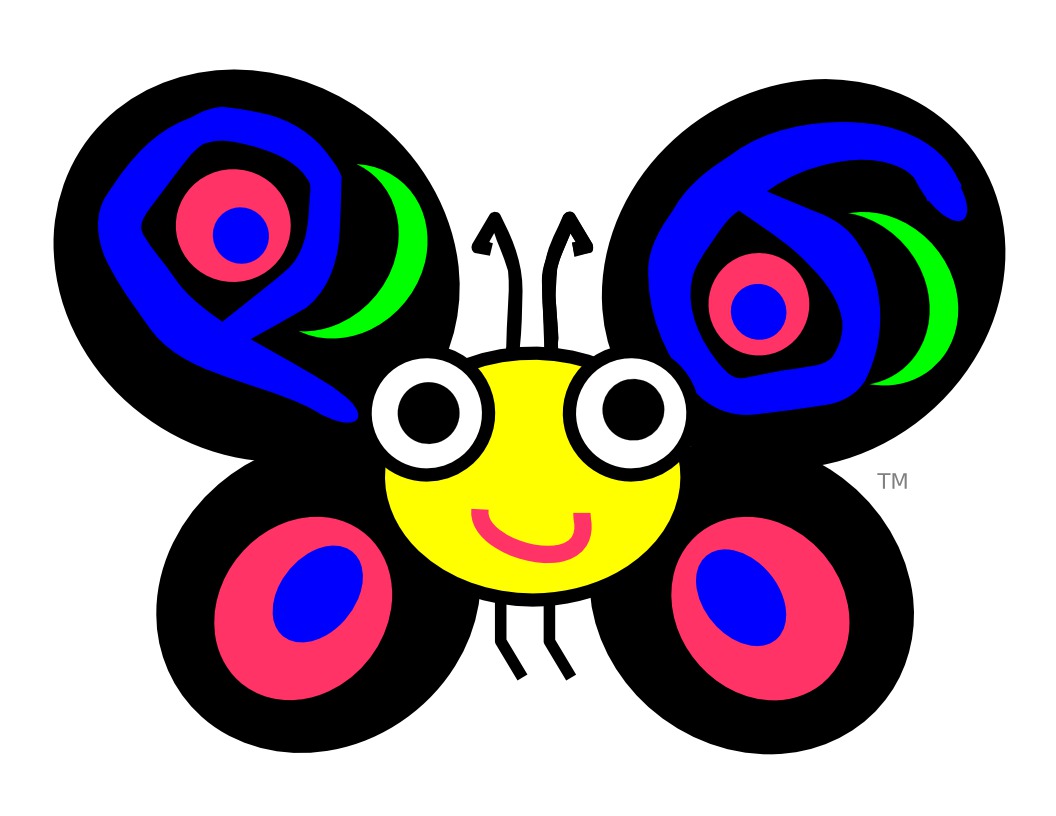
Camelia
Camelia is the colourful butterfly mascot of Perl 6, the new language being developed in the Perl family.
The challenge here is, how? Camelia consists of many colours, and we can only print one at a time. First I needed to convert the available image into vector graphics, preferably one piece for each of the coloured areas. To do this there is a tool named potrace. First I edited the image to change the colours to black and white for a good contrast, then applied potrace twice, the second time with the "invert" options to get all the parts.

Camelia, black and white
The resulting SVG (huh, the repo has an SVG, why didn't I notice before? anyway, onwards!) .. was opened in Inkscape. Next I wanted to do the actual 3D modelling in OpenSCAD as its my preferred tool, so I hunted for, and found, an Inkscape extension to convert SVG to OpenSCAD.
This gave me a lovely series of polygons for each piece. Annoyingly (who knows why?) the two sets of parts didn't quite overlap when I merged them into one OpenSCAD file.
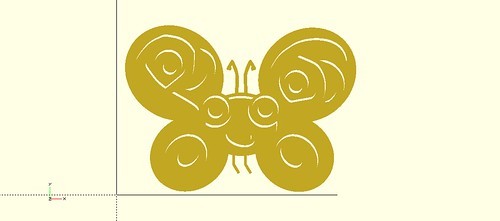
OpenSCAD Camelia, with holes
I spent a while worrying about that, and then just fiddled with translating (moving) one set so it did fit properly, and worried less (thanks to James, who is often good at finding ways to simplify what I'm doing, if not his own things ;)
Now the hard part, how to create something that is printable, but with multiple colours? If I scale the camelia to a badge size (about 40mmx50mm), then the smallest part (the mouth) won't print very well on its own.
After much thinking, and even printing 2d pages, one for each colour, and cutting holes (much craftiness in this 3D designing lark), I decided on thin layers, one of each colour, stacked and with holes so that the layers underneath could poke through, and we get this:
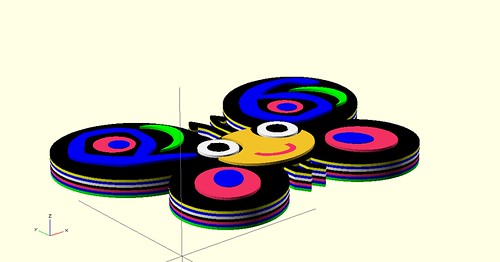
Camelia, 3D!
Now all I have to do is.. fiddle with the tolerances so that it works, and print in colours! Watch this space..